How To Make A Broth, Stock or Bone Broth

Broth, Stock or Bone Broth… What is the difference between the three? Is there a difference between the three?

There’s no mistaking what a stock is or a bone broth is but it can become a little unclear as to where a broth stands, here is my interpretation of the three…

How To Make A Broth, Stock or Bone Broth

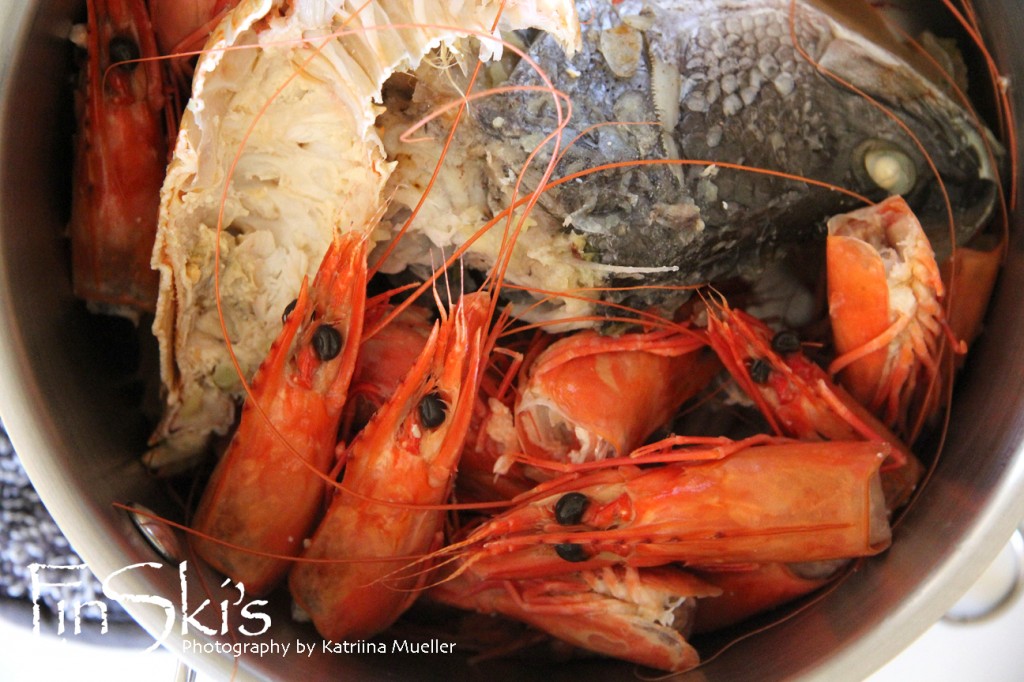
Broth -Think of a broth as the finished product, a soup in a sense… Chicken Soup or Won Ton Noodle Soup all use a broth. It is a gently flavoured liquid that is made by flavouring water with meat, or very meaty bones, carrots, celery, light herbs, onion and most importantly seasoned with salt. It is lighter in flavour compared to the stock and bone broths and is always clear and thin, which is an absolute necessity in asian cuisine. 

The cooking time is much shorter compare with the other two methods, around 40 minutes (unless you are poaching a whole chicken).  There are no added health benefits to an extended cooking time for broths, and it will even negatively affect the flavour of your broth, especially if you are making a fish broth, which will turn bitter if cooked longer than 30-40 minutes. All the flavour and nutrients you want will be leached out into the liquid during this short cooking time.

My favourite broth is a chicken one. By poaching a whole chicken in water with the addition of carrots, onion, celery and seasoned well with peppercorns and salt, you end up with beautifully moist meat and a broth that is delicious and effortless – this method takes about 1 hour 20 minutes as it’s the whole chicken. The benefit of this method is you have a lot of meat leftover that can then be made into pies or a salad through the week along with plenty of chicken broth. As a bonus, the chicken carcass can be incorporated into a bone broth, just freeze till required.

Broths will remain quite fluid as opposed to the stocks and bone broth, which with their naturally high gelatin content, will turn to jelly once refrigerated. 

Vegetable and fish broths do not benefit from long cooks.

How To Make A Broth, Stock or Bone Broth

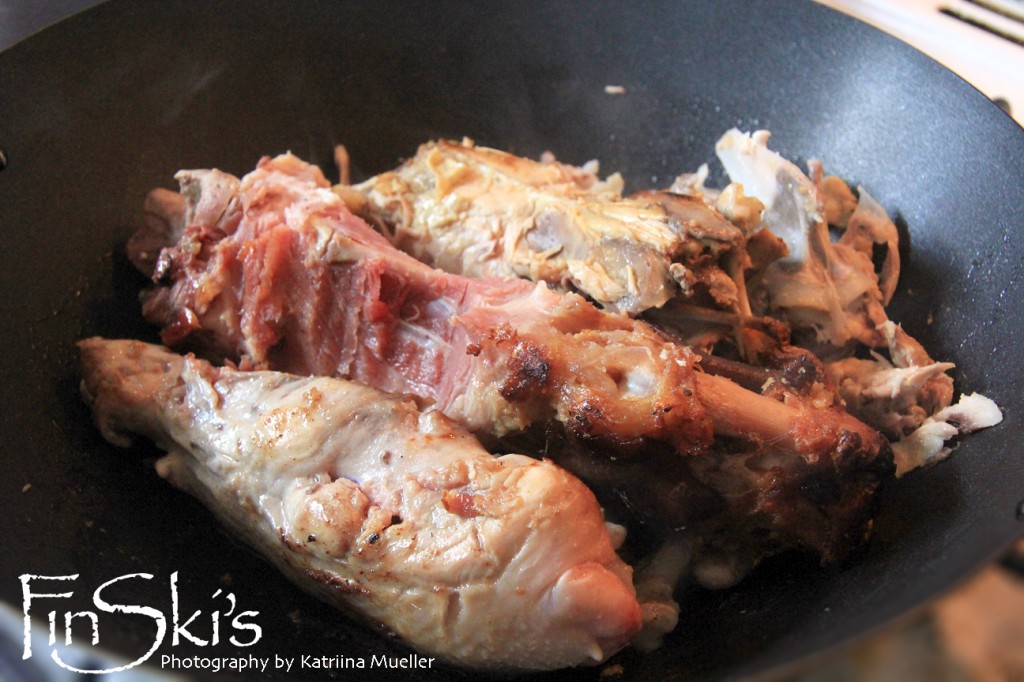
Stock – Is a component of cooking, it’s used to add body and flavour to a dish, generally not to have on it’s own, think of risotto, stews or gravy. It is made with well roasted bones –  ideally with quite a bit of meat still left on them for the extra flavour, and vegetables. Roasting the meaty bones is necessary to a good quality stock as you want rich, well developed flavours in a stock, which the roasting of the bones and vegetables will do. Un-roasted bones will leave a slightly odd, unpleasant flavour to the liquid.

Stocks are generally cooked for 6 -12 hours.

As I make quite big batches of stock at one time (10-12 cups worth) I personally choose to keep the added flavours of vegetables and herbs to a minimum, this way I can alter it to lean toward a particular cuisine when I want to. It’s still a very rich stock just not heavily loaded with flavours outside of the roasted meaty flavours.

Remember to keep all your bones from the roasts you make, in the freezer till you are ready to make your stock. My favourite stock combines the meaty bones of various beasts with the addition of a rabbit carcass  – the flavour is magical!

How To Make A Broth, Stock or Bone Broth

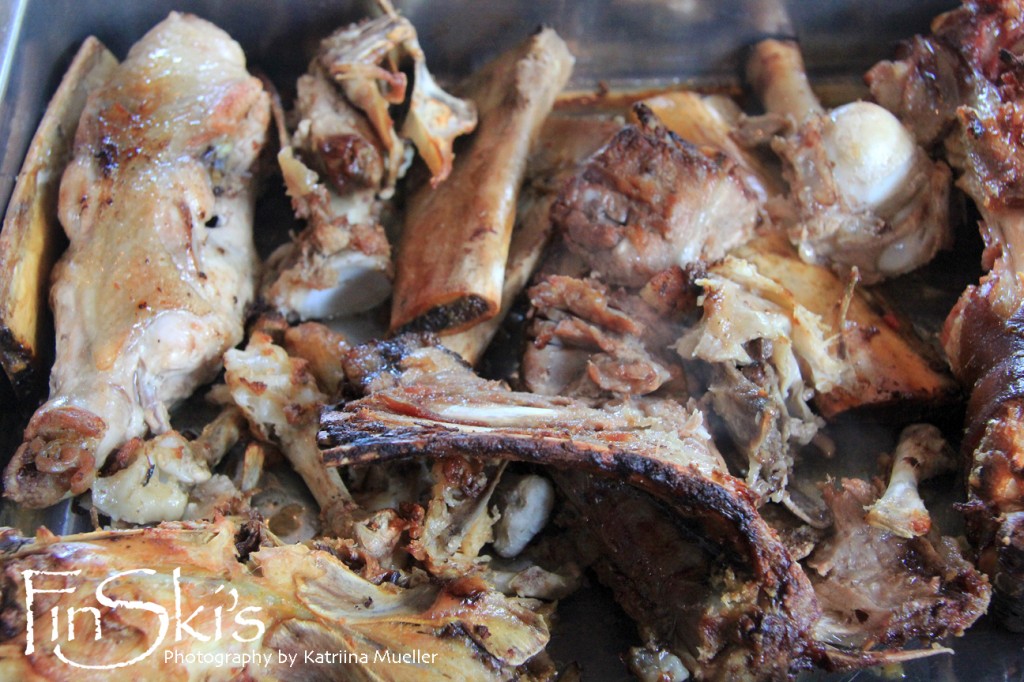
Bone broth – Think of bone broth as homemade medicine. Made to be drunk straight, especially the first ‘pressing’, it is the holy grail of the stewing liquids. Used for speeding the healing, repair and recuperation time from illness, reduce joint pain, reduce inflammation, prevent bone loss and build healthy skin, hair, and nails. Certain amino acids that come mostly from the bones can assist with a healthy gut and digestion, a balanced nervous system and strong immune system – just as chicken soup (using the whole chicken) has been proven to aide in healing, bone broth takes it that next step further. Made using mainly the bones – as that is where the amino acids and minerals will be coming from, it’s the very long stewing time, combined with a vinegar solution to draw out certain minerals, that makes the bone broth highly regarded for it’s health benefits. If you are making bone broth you are making it because of it’s centuries known health benefits, otherwise you would stick to stocks.

To get the most out of the bones do your best to source organic or biodynamic animals and birds,100% grass fed beef, pasture raised chickens… basically any animal or bird that has been raised well and healthily as you are making this bone broth for it’s health benefits so the bones need to be from the healthiest animals possible… and keep them all! As you come across them, bag and freeze them; accumulate them so you have a nice mound of bones, raw chicken carcasses etc to make your broth or stock. Continue reading “How To Make A Broth, Stock or Bone Broth”

Roti Canai using Pizza Dough, a step by step

Roti Canai using Pizza Dough, a step by step
Click image for recipe

This is insanely good Roti Canai using my ‘Best Ever Pizza Dough’ recipe – That’s right, pizza dough for roti!

Easy Pizza Dough

I knew this dough was good but I am truly surprised at how adaptable it really is. I generally have a portion of this dough in the fridge at any given moment – Seb loves a pizza, but it was only when I went to use it after it had been there for a few days that I realised just how supple it had become…

While the Finding Feasts gal’s were taking a short break with the families in Kangaroo Valley, I chose to try my hand at roti. The dough was amazingly supple and had an incredible stretch but the end result wasn’t too great. But I will never forget the feel and texture of that dough.

When I came across this similar texture in the pizza dough my first thought was the roti dough, which is why we are now here!

What makes this just so amazing is that you have a dough that has so many uses. You don’t feel like you are making an effort for a dish that you will only make once or twice, you will be able to make it whenever you want knowing that some of it can go to making pizza bases or flat bread.

I made two styles of this, one is the circular one and the other is a rectangular one. The rectangular shaped one can also have a filling of your choice,

Roti is alot of fun to make and if you are so inclined you could use the proper technique of flipping – that will be my next challenge!

Roti Canai using Pizza Dough, a step by step

How To Poach Eggs In Cling Film

One of my favourite ways to eat eggs is poached… How good does that look? Spicy chorizo, mushroom and feta with poached eggs

How To Poach Eggs In Cling Film
Click image for cooking method

The problem is a lot of people are afraid to try their hand at poaching thinking it’s too difficult a method. This is where the cling film method comes in, but before you say something about the rubbish left from such a cooking method, yes I agree but the benefit of poaching eggs using this method is you can use older eggs.

The traditional method of poaching requires you to have the freshest eggs so that the egg white is a firm ball surrounding the yolk. This is important because you need the white to hold form in the water. Using an older egg will mean the egg white is looser and you will just have egg white ‘ghosts’ floating around in your saucepan. Not very appealing at all!

Poaching in cling film means you can use older eggs – not everybody has chickens on hand and not every carton of eggs you buy are as fresh as you need them for traditional ‘free fall’ cooking, so having this method on hand is very helpful when the craving for poached eggs hits.

How To Poach Eggs In Cling Film instructional…

How To Poach Eggs In Cling Film
Click image for cooking method

Happy brunching!  Blondie  🙂

How to make Christmas turkey gravy

How to make Christmas turkey gravy
Click image for recipe

Jamie Oliver’s make ahead Christmas turkey gravy is simply the best! This will be my second year making it and as a gravy lover I have to say that it’s probably one of the best sauces I have tasted.

With only 10 days till Christmas, making this gravy now will save you loads of time and take the stress out of Christmas day. It’s dead easy to make and tastes delish!

Come Christmas day all you’ll need to do is take it out of the freezer, defrost it and warm it up!

Merry Christmas!

Wild Yeast Sourdough Bread Step-By-Step

Finding Feasts - Wild Yeast Sourdough Bread Rolls_3 (1)
Click image for recipe

Wild Yeast Sourdough Bread Step-By-Step is my very simple instructional guide on how to have sourdough bread available in your own home for whenever the mood takes you… or when the mood takes you a day prior to having the mood… Good things take time.

Although a wild yeast starter is as basic as flour and water then letting nature take over, I did choose to have my hand held by Hugh Fearnley-Whittingstall’s recipe guidance as every time I make a dish of his it’s always exactly as he says it is. I made the starter over two months ago and it’s still a loving ‘pet’ who doesn’t expect too much from me other than a feed and maybe a warm hug.

Just the fact you can create amazing loaves of freshly baked bread at absolutely minimal cost to yourself is well worth you trying your hand at a wild yeast starter. The kids would love to have something to look after!

Finding Feasts - Wild Yeast Sourdough Bread Rolls_1


Maintenance of your new starter is probably where most people seem to have difficulty so here is my routine… and it seems to like the lifestyle.

As I usually make bread on the weekend I put my starter to sleep during the week, or more appropriately into a slight lull. So on the Sunday I give it a feed without too much water making the consistency more like a paste than a batter. Cover it and pop it into the fridge, that’s it! This will give it enough food to last for a week in the fridge as it won’t need too much being in the cold.

On the Friday I take it out of the fridge and give it a good stir leaving it to get back to room temperature. Tip out some of the starter* then give it it’s usual feed with flour and enough water to get it back to the batter consistency and use over the weekend.

Note*  I dislike tipping my starter down the drain, it really seems like such a waste, so if you have people around you that would like to try their hand at sourdough bread making, give them your excess. Just pour it into a jar, and send it on it’s way… spread the love.

Repeat the process.

This works particularly well if you go away on holidays too. Just make sure it’s thick enough with flour to feed it for the week or two while it’s in the fridge and it will happily wait for your return.

If you keep in your mind that it’s now a member of the family, just like a new pet, you can have a long and successful life together.

Finding Feasts - Wild Yeast Sourdough Bread_9


Happy crunching and crumb licking!

Blondie 🙂

Perfect hard boiled eggs and easy shell removal with baking soda

Perfect hard boiled eggs and easy shell removal with baking soda… I have just come across this tip, well actually I had heard of this trick a while back but never really thought much of it. That is till I finally got sick of having peeled eggs that look like they had come back from playing with a wood chipper… chunks missing, bits of shell that refuse to separate from the body, just mangled messes of boiled eggs.

So what’s the magic trick to getting a perfectly peeled hard-boiled egg? Baking soda… it’s life changing!

For me, I always keep my eggs in the fridge and generally don’t think of taking them out to warm up till I actually need them, so this ‘recipe’ is for eggs straight from the fridge into boiling water – I like to live life on the edge! I haven’t received many egg casualties from doing it this way but it’s the risk you take if you too use cold eggs. If a breakage does occur it is generally a small crack with slight leakage, the egg will still cook perfectly.

Finding Feasts | Boiling eggs using baking soda method

Never fear your eggs again… Blondie  🙂

Homemade Ricotta Recipe

Homemade Ricotta Recipe
Click image for recipe

Homemade Ricotta Recipe… There are so many gorgeous recipes using ricotta that I have decided to make my own for the first time.

Here are a few tips when making your ricotta…

Tip 1: You can make ricotta using just milk but the more cream you add the creamier it will be. You can get it to a consistency of mascarpone cheese if you add enough cream.

Tip 2: There really isn’t a need to use a thermometer, you can go by sight. When it starts to foam at the top then it’s ready to add the vinegar.

Tip 3: The longer you let the whey drain from the curds the firmer and drier the ricotta will be.

Tip 4: If you are using this ricotta for a dessert then omit the salt

Tip 5: Enjoy the process… it’s such a joy to do something that has been done for an eternity – a very simple pleasure

Cheers,  Blondie!