Homemade Sweetened Yoghurt & Bread

Homemade Sweetened Yoghurt - Small Batch
Click image for recipe – Small batch sweetened yoghurt

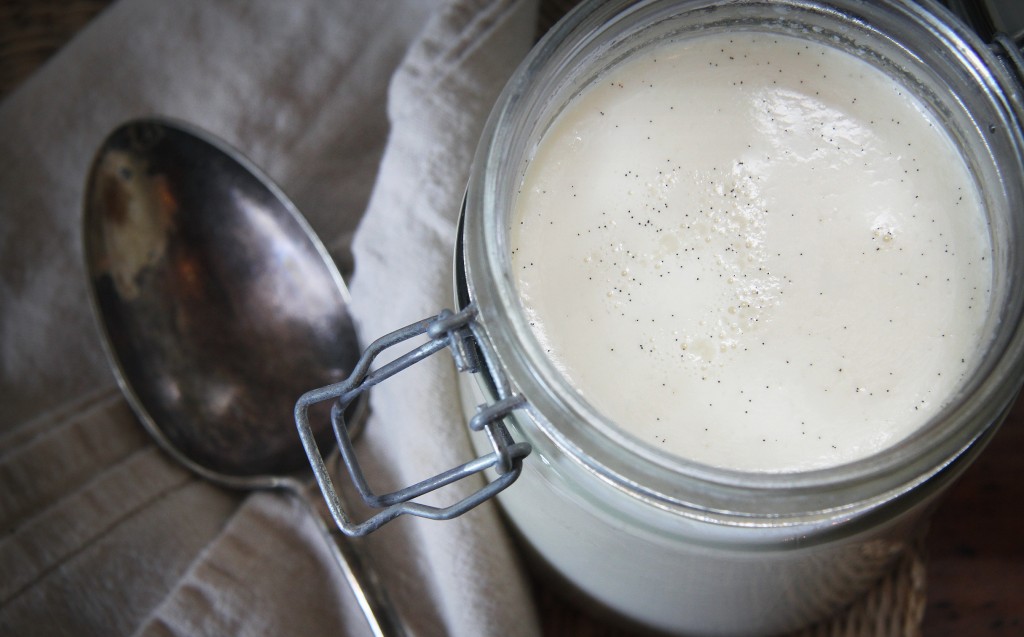
Homemade Sweetened Yoghurt & Bread… Yoghurt is a simple enough food to buy but it can get expensive. I particularly like the sweetened yoghurt freshly made at my local grocer; it’s lusciously thick and creamy and lightly sweetened but we do get through quite a bit of it so this is the focus for my homemade yoghurt.

After reading the final results of other people’s homemade yoghurts (the main complaint being that it wasn’t as thick as store bought varieties, alot even separated) I chose to add a thickener, pectin to be exact, just to be safe … I really wanted to replicate my favourite yoghurt and quickly. If you aren’t in a hurry then ideally leave it to strain in a muslin cloth over a bowl to catch the whey. This will produce a deliciously thick and creamy yoghurt -You won’t be able to strain it if you have added gelatin or pectin.

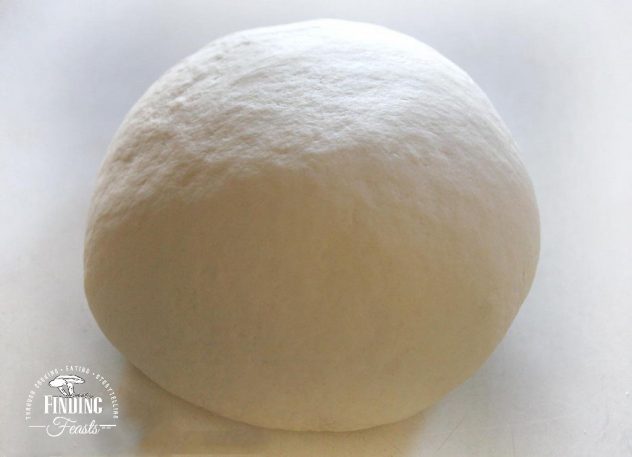
Yoghurt is basic enough to make, the challenge is having a source of heat to keep it warm for 10-12 hours (times do vary immensely though). I decided to do the esky method, but you can do any of the following methods:

  • put it in a non draughty area with a towel around it
  • place it in a thermos
  • remove the shelves from your dehydrator and leave it at 45°C / 113°F
  • place it on a brewer’s heat pad with a tea towel over it… they all do the same job.

Your yoghurt can set anytime from only a few hours, but you can leave it for as long as a day. The sour taste will get stronger the longer it’s left.

If you want a basic greek yoghurt then omit the sugar and vanilla and any thickeners. Just make as the method below and then pour into a strainer lined with muslin and leave to drain in the fridge till you have achieved your desired consistency.

It’s important to use freshly opened, ‘live’ yoghurt in your first batch to ensure the bacteria is at it’s freshest then, importantly, remember to make sure you to set aside a 1/4 cup of your yoghurt to use as a starter batch to get another lot of yoghurt going. You can generally get about 4 cycles from your homemade yoghurt before you will need to buy a fresh batch of live yoghurt to use as your starter.

Other variables you can use when making your yoghurt include using pure cream or half cream with half milk instead of straight milk.

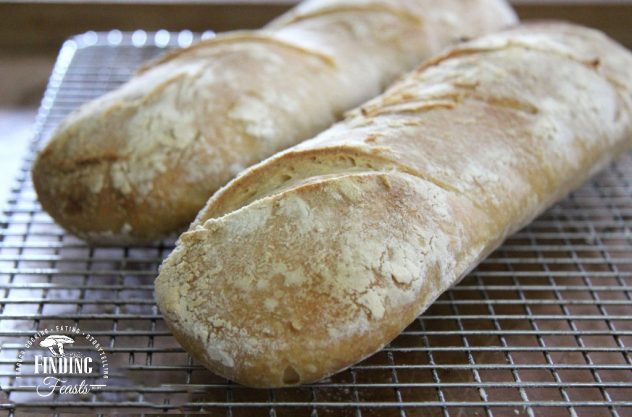
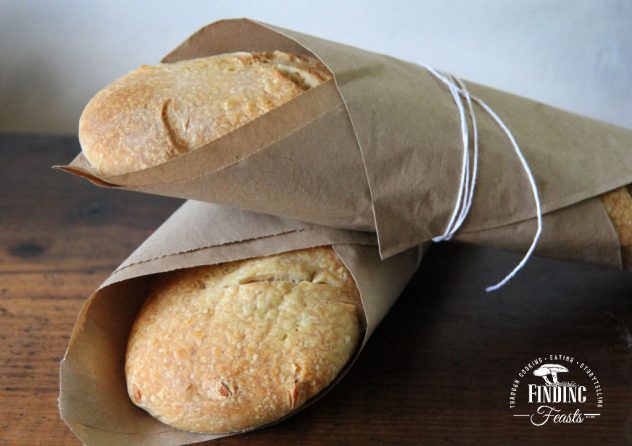
After  you have tried your hand at yoghurt then get stuck into my Sweet Yoghurt Bread Rolls

Sweet Yoghurt Bread Rolls
Click here for recipe – Sweet Yoghurt Bread Rolls

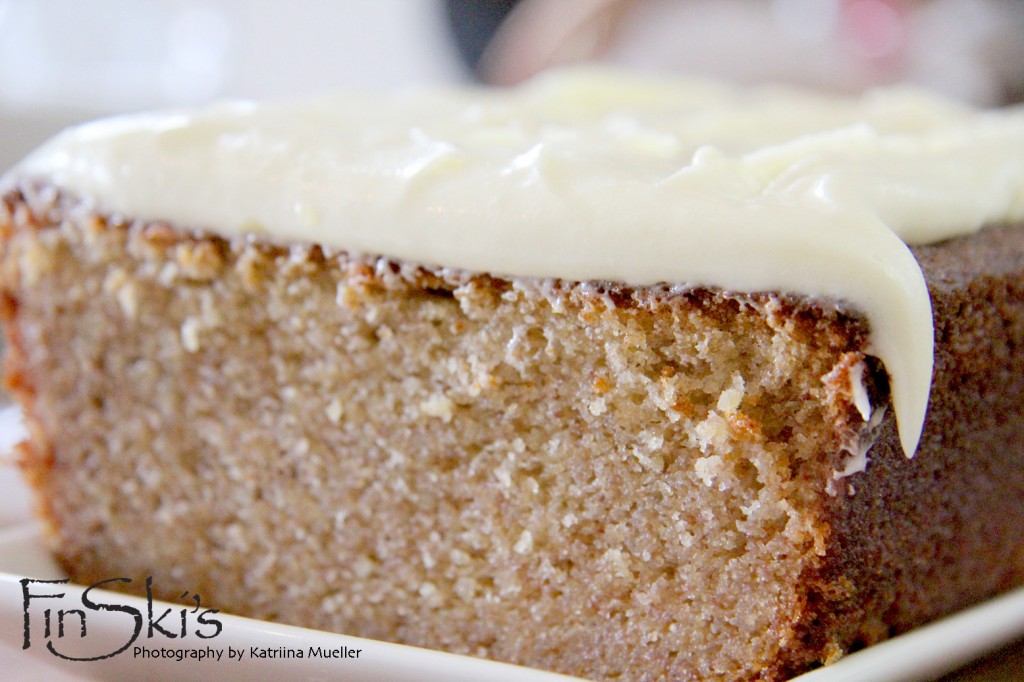
This recipe comes direct from a website I stumbled across, Pure Enjoyment. I didn’t alter anything in the ingredients, (I think that is only the second time I have ever done that!) It’s faultless! Thank you so much for sharing this with the world :)

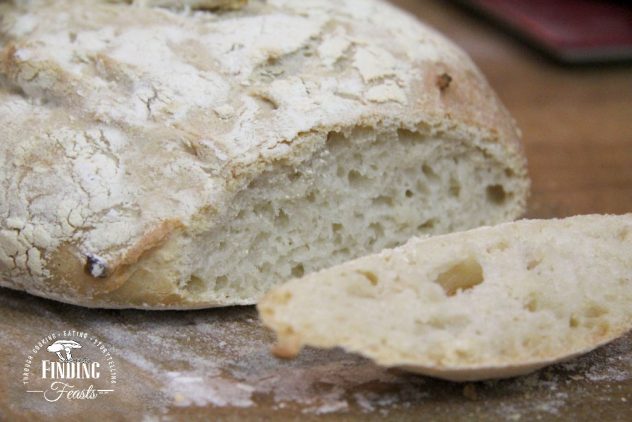
The crumb is a lighter version of brioche but with a flavour that has a delicate tang due to the yoghurt. I used my homemade Sweetened Yoghurt for this recipe but you could certainly go out and buy a favourite yoghurt (at Pure Enjoyment she and quite a few of her followers used a chunky fruit yoghurt) The aroma is heavenly and it’s just so moreish.

Timeline if you were to make it on the weekend… take 10 minutes to make the dough after breakfast and then leave to prove till lunch time, spend another 10 minutes – if that – making the 10 balls and then leave to prove till 20 minutes before afternoon drinks. Cook and then you have amazing sweet bread rolls to have with a beer.

Roti Canai using Pizza Dough, a step by step

Roti Canai using Pizza Dough, a step by step
Click image for recipe

This is insanely good Roti Canai using my ‘Best Ever Pizza Dough’ recipe – That’s right, pizza dough for roti!

Easy Pizza Dough

I knew this dough was good but I am truly surprised at how adaptable it really is. I generally have a portion of this dough in the fridge at any given moment – Seb loves a pizza, but it was only when I went to use it after it had been there for a few days that I realised just how supple it had become…

While the Finding Feasts gal’s were taking a short break with the families in Kangaroo Valley, I chose to try my hand at roti. The dough was amazingly supple and had an incredible stretch but the end result wasn’t too great. But I will never forget the feel and texture of that dough.

When I came across this similar texture in the pizza dough my first thought was the roti dough, which is why we are now here!

What makes this just so amazing is that you have a dough that has so many uses. You don’t feel like you are making an effort for a dish that you will only make once or twice, you will be able to make it whenever you want knowing that some of it can go to making pizza bases or flat bread.

I made two styles of this, one is the circular one and the other is a rectangular one. The rectangular shaped one can also have a filling of your choice,

Roti is alot of fun to make and if you are so inclined you could use the proper technique of flipping – that will be my next challenge!

Roti Canai using Pizza Dough, a step by step

Zucchini Koftas in Creamy Tomato Sauce

Click image for recipe

Zucchini Koftas in Creamy Tomato Sauce is an insanely moresih kofta recipe – it really is hard to stop eating these deep fried zucchini balls. The recipe does call for the zucchini koftas to warm in the sauce but when I do it again I will serve the sauce on the side (or underneath) the kofta balls so I keep the texture of the balls, which soften when sitting in the sauce.

This meal is also kid friendly – there is chilli in it so just remove or reduce it if they aren’t a fan of heat, but they will most certainly love the zucchini balls.

TIP: since the koftas really need to be eaten immediately (they go a little soggy otherwise, but still tasty) turn the leftovers into sausage rolls – these are absolutely stunning! Mix the balls and remaining sauce together with some paneer or ricotta and roll up in puff pastry. This way you get the texture and the flavour just in a different form.

Curried Zucchini Sausage Rolls

My household is still going strong with our 3-4 days worth of vegetarian days a week and it’s been really exciting coming up with recipes to excite and engage… this one is no exception as it has the naughtiness of deep fried food and the lushness of the creamy tomato curry sauce. I have also included a recipe for Paneer Parathas, which are an Indian stuffed bread, just perfect for dunking into the sauce.

Happy dunking!

Blondie  🙂

Paneer Parathas
Paneer Parathas

The Easiest Banana Bread Ever w/ Lemony Cream Cheese Frosting

The Easiest Banana Bread Ever w/ Lemony Cream Cheese Frosting

The Easiest Banana Bread Ever w/ Lemony Cream Cheese Frosting… So the question of what to do with old bananas would pop into most peoples minds at some point while they look at their decaying fruit. A bright spark of an idea will envelope them as they remember that they love banana bread and surely it can’t be too difficult to make…

Bella and I are both guilty of leaving bananas too long on the bench and having them eventually end up in the garbage, but no longer! I will forever now be making banana bread because this recipe is so, so simple. You just bung all the ingredients into the food processor and blitz, spray your bread tin and throw it into the oven for one hour – and what an hour it is. The house fills with the aroma of freshly baked banana bread, scented with vanilla and cinnamon that lingers hours after the baking has finished.

The Easiest Banana Bread Ever w/ Lemony Cream Cheese Frosting is a moist, dense cake that has a fine crumb and holds it’s self well to toasting or eating fresh. It will keep in your fridge for ages, just lightly cover it and if you want the feeling of freshly baked banana bread then pop a thick slice into the microwave for 5-7 seconds and it bounces back to it’s old self – moist and slightly warm, yum!

Forever a classic – Blondie  🙂

Wild Yeast Sourdough Bread Step-By-Step

Finding Feasts - Wild Yeast Sourdough Bread Rolls_3 (1)
Click image for recipe

Wild Yeast Sourdough Bread Step-By-Step is my very simple instructional guide on how to have sourdough bread available in your own home for whenever the mood takes you… or when the mood takes you a day prior to having the mood… Good things take time.

Although a wild yeast starter is as basic as flour and water then letting nature take over, I did choose to have my hand held by Hugh Fearnley-Whittingstall’s recipe guidance as every time I make a dish of his it’s always exactly as he says it is. I made the starter over two months ago and it’s still a loving ‘pet’ who doesn’t expect too much from me other than a feed and maybe a warm hug.

Just the fact you can create amazing loaves of freshly baked bread at absolutely minimal cost to yourself is well worth you trying your hand at a wild yeast starter. The kids would love to have something to look after!

Finding Feasts - Wild Yeast Sourdough Bread Rolls_1


Maintenance of your new starter is probably where most people seem to have difficulty so here is my routine… and it seems to like the lifestyle.

As I usually make bread on the weekend I put my starter to sleep during the week, or more appropriately into a slight lull. So on the Sunday I give it a feed without too much water making the consistency more like a paste than a batter. Cover it and pop it into the fridge, that’s it! This will give it enough food to last for a week in the fridge as it won’t need too much being in the cold.

On the Friday I take it out of the fridge and give it a good stir leaving it to get back to room temperature. Tip out some of the starter* then give it it’s usual feed with flour and enough water to get it back to the batter consistency and use over the weekend.

Note*  I dislike tipping my starter down the drain, it really seems like such a waste, so if you have people around you that would like to try their hand at sourdough bread making, give them your excess. Just pour it into a jar, and send it on it’s way… spread the love.

Repeat the process.

This works particularly well if you go away on holidays too. Just make sure it’s thick enough with flour to feed it for the week or two while it’s in the fridge and it will happily wait for your return.

If you keep in your mind that it’s now a member of the family, just like a new pet, you can have a long and successful life together.

Finding Feasts - Wild Yeast Sourdough Bread_9


Happy crunching and crumb licking!

Blondie 🙂

Korvapuusti – Pulla aka Finnish Cardamom Scrolls

Finding Feasts | Pulla Sweet Finnish Cardamom Bread
Click image for recipe

Pulla – a cardamom laced, sweet Finnish bread – that is devoured by the truck load by the Finns! Eaten with coffee, this bread is as traditional as Karelian Pies.

There are 3 main ways of having them… round like a plain bun, plaited into a loaf which is sliced (grandpa’s favourite, along with a very thick slathering of butter on top, dipped into his strong coffee) and finally the scrolls with sugar and cinnamon rolled through it. The later is my favourite way of having them, along with every kid who ever gets a chance to try them.

I have done two recipes for this Pulla, one for hand kneading and one if using a bread maker (coming up shortly). They are slightly different, but both work beautifully.

I also have another recipe coming up – Pulla bread and butter pudding – after burning my first batch of hand kneaded Pulla. There was no way I was going to let all that effort go to waste!

Finding Feasts | Pulla Sweet Finnish Cardamom Bread

Enjoy!

Blondie

Makowiec – Polish Poppy Seed Cake

Finding Feasts - Makowiec – Polish Poppy Seed Cake
Click image for recipe

Picking my first recipe for the blog was exciting, challenging and scary! It brought back very special memories of growing up.

When we moved to Australia, mum tried her best to keep a traditional Polish kitchen but it was always subject to seasonal produce and the Australian climate. Having a traditional Polish Christmas Eve dinner on the 24th of December was a little difficult in 35 degree heat! However, hats off to mum as she has done an amazing job keeping a Polish kitchen.

For my first blog I have attempted to make my very first Makowiec…Poppy Seed Cake. Makowiec is very popular with Poles especially during Easter and Christmas and delicious with a cup of coffee! It’s actually very rare to turn up to a Polish party and not have this cake on the menu!

The combination of poppy seeds and the yeasty cake gives it a lovely moist, crunchy like texture. The key to a successful poppy seed cake is  to ensure that you mince the poppy seeds 3-4 times to ensure you get rid of the grittiness.  Yes, it is a little labour intensive, however the taste is amazing… just ask Blondie.

Making the cake for the first time suddenly gave me an appreciation of the great care mum took with the yeast to ensure that it would rise. There were times when the dough would be wrapped in a warm blanket and put in a dark warm place, away from noise to make it grow. I remember how mum would whisper that noise would spoil the dough and it would not grow, I used to giggle at this theory.

On my 2nd attempt, when the dough failed I found myself suddenly applying all of mum’s old school techniques… no matter how strange they were!

My main tip for this cake is to use fresh yeast when possible, the results are much better…and yes, the whispering helps!

Bella